

Ali’s Cookies: Cake in a Jar
Start with clean, empty jars and in just a short time you'll have cake to deliver to friends or keep all to yourself.
Jeff Rosengarten is the sole owner and operator of Ali's Cookies. He has been an Atlanta resident for almost 40 years, and the proud father of five children. Ali's Cookies has been baking delicious kosher cookies and cakes for the community for over ten years. Anyone that has had Ali's cookies will attest to them being "the best cookies you'll ever have."
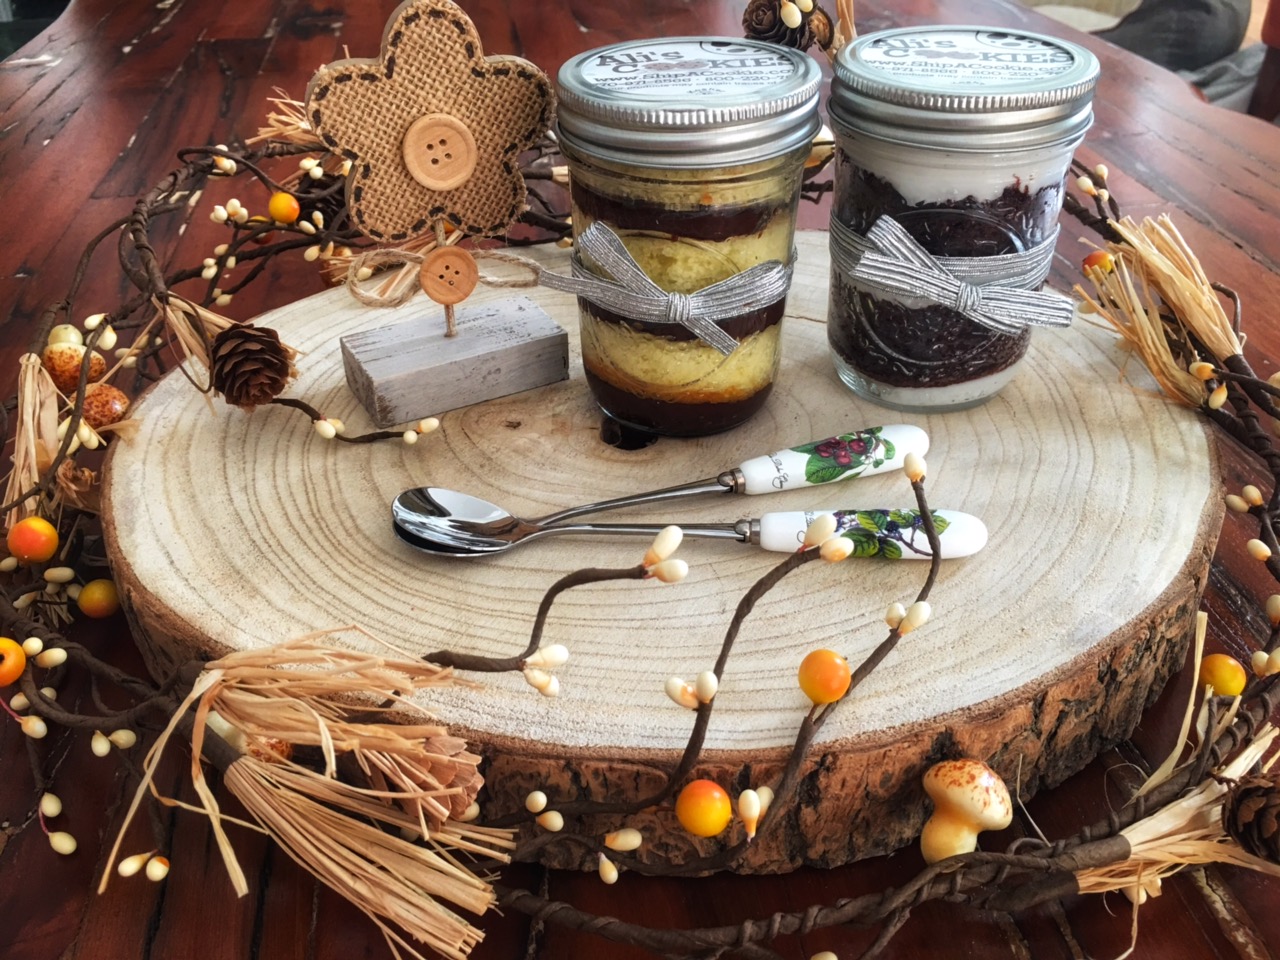
Instead of giving you one of our recipes this week, we want to teach you how to assemble our delicious Ali’s Cookies Cake in a Jar. It is easily customizable and makes a wonderful gift or party favor.
The items you will need for this project are easy to gather. Any cake or icing recipe should work with no trouble, whether it’s your great-grandmother’s time-tested classic, or the kind you find in a box at the grocery store. The jars can be found at Walmart, Amazon or almost any grocery store. We like to include a mini fork with our Cake in a Jar, which is readily available from the brand Mozaïk.
The beauty of these little jars of confections is the ability to customize them. At Ali’s Cookies, customers ask us for all different combinations of cake and icing.
You can use whatever flavor of cake and icing you like; you can adjust the amount of icing according to your preference; and you can decorate the jars any way you choose. You could even add in small candies or sprinkles between the layers for some extra crunch or color. The possibilities are endless.
Supplies:
- Clean, empty jars with straight sides and lids. We use a half pint jar, but feel free to use any size you like. The most important detail is that you use a wide mouth jar where the sides are straight from bottom to opening.
- Your favorite cake recipe, baked in a sheet cake format, and frozen. Through a lot of trial and testing, we have found that freezing the cake makes it much easier to cut and handle during the assembly process.
- Your favorite icing
- Zip-top bag. We use pastry bags with a piping tip.
- Ribbon or stretch band (optional)
- Mini fork (optional)
Assembly:
Start by filling a zip-top bag with your chosen icing and closing the bag. Cut ¼-inch off one of the bag’s bottom corners. This is an easy way to make an icing bag at home. You can even cut the corner off and insert a piping tip before adding icing to the bag, to add texture to your icing.

When you’re ready to assemble your jars, take your cakes out of the freezer.
Depending on the density of your cake, and the lid of your jar, you will either use one of your jars as a type of cookie cutter or rest the jar on the cake and use a small paring knife to cut around the edge of the jar. You will need to keep the cake cut out the same size or very slightly smaller than the jar so that it will fit without tearing or smashing.
Cut out 3 circles for each jar you will be filling. If at any point in this process the cake begins to get to soft, put the pieces back into the freezer to re-freeze for easier handling.
Once all your circles are cut, it’s time to assemble.
Pipe a small dollop of icing in the bottom of each jar. Slide in the first layer of cake and press down so the icing spreads across the bottom of the jar. Pipe a layer of icing, and slide in the second cake layer. Press down again to create a seal between the cake and icing. Pressing the cake down into the icing helps maintain the cake’s moisture, but if you choose to use a piping tip to give texture to your icing, you won’t want to press down on the cake layers. Repeat for the third layer of cake.
Finish the cake jars off by piping a spiral of icing on the top of the final layer of cake. You want all of the cake to be covered with icing to lock in moisture and freshness.
Finish the jars by screwing on the lid and decorating however you see fit.
Decorating ideas include custom-printed stickers for the lids or sides of the jars, or even drawing on the side of the jars. You can use ribbon or a stretch band to attach the mini fork to the jar. Once finished, you can store the Cake in a Jar in the fridge to keep fresh longer. You can even freeze the jars and let them sit at room temperature to thaw when you need them.
Jeff Rosengarten is co-owner of Ali’s Cookies.
comments